Toggle menu
Toggle preferences menu
Toggle personal menu
Not logged in
Your IP address will be publicly visible if you make any edits.

When you get a Blueprint out you will need to select it then choose "Learn and Consume" to gain that blueprint. All blueprints can be sold for 5,000. All Blueprints in the scavenging loot pool are able to be unlocked as a Trial reward.

This page excludes traveling tinkerer skill crafts!

Location

Blueprints can spawn during any map condition and on any map. Some blueprints only spawn on certain maps, conditions or during certain major map conditions. Some blueprints can only be acquired when completing Quests.

The others can generally be found following these guidelines:

Table

When you get a Blueprint out you will need to select it then choose "Learn and Consume" to gain that blueprint. All blueprints can be sold for 5,000. All Blueprints in the scavenging loot pool are able to be unlocked as a Trial reward. This page excludes traveling tinkerer skill crafts! Location Blueprints can spawn during any map condition and on any map. Some blueprints only spawn on certain maps, conditions or during certain major map conditions. Some blueprints can only be acquired when completing Quests. The others can generally be found following these guidelines: 
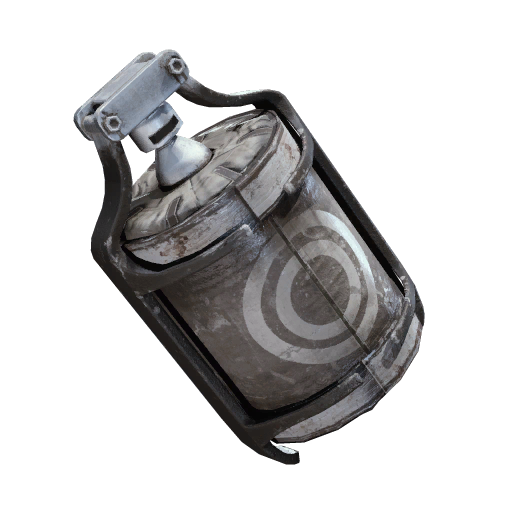
Explosives are found in Industrial Containers 
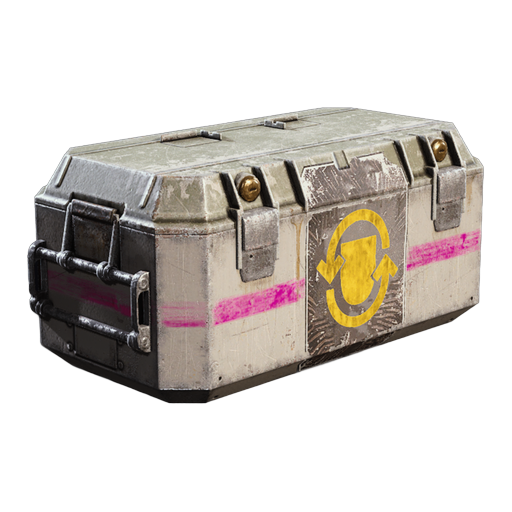
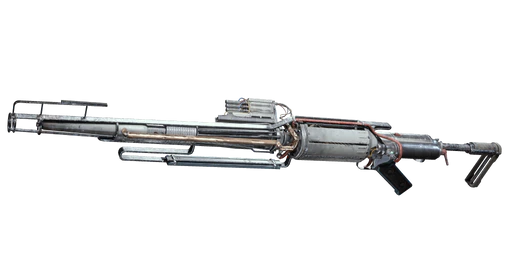
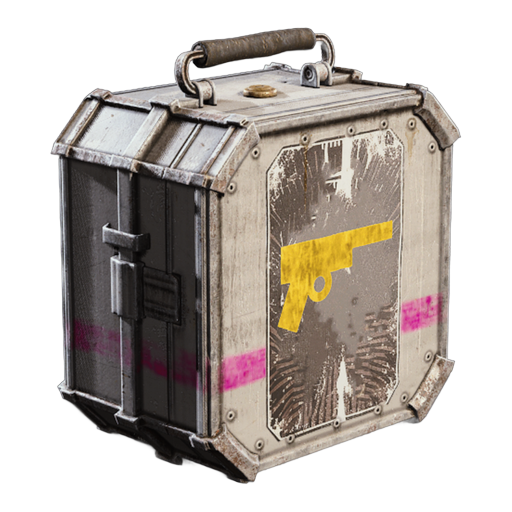
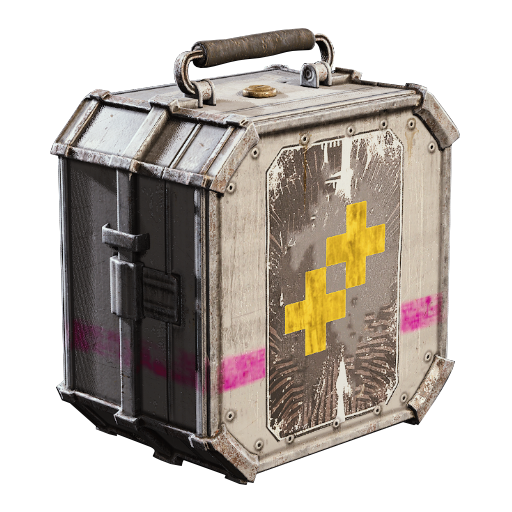
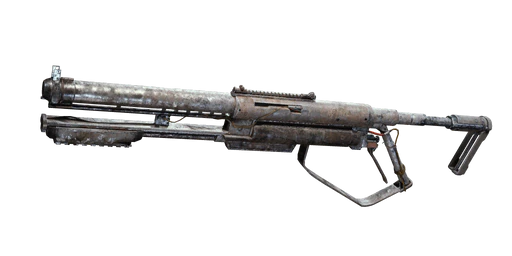
Weapons and gun parts are found in Raider Containers (but not the Medical Bag) except for the Tempest 
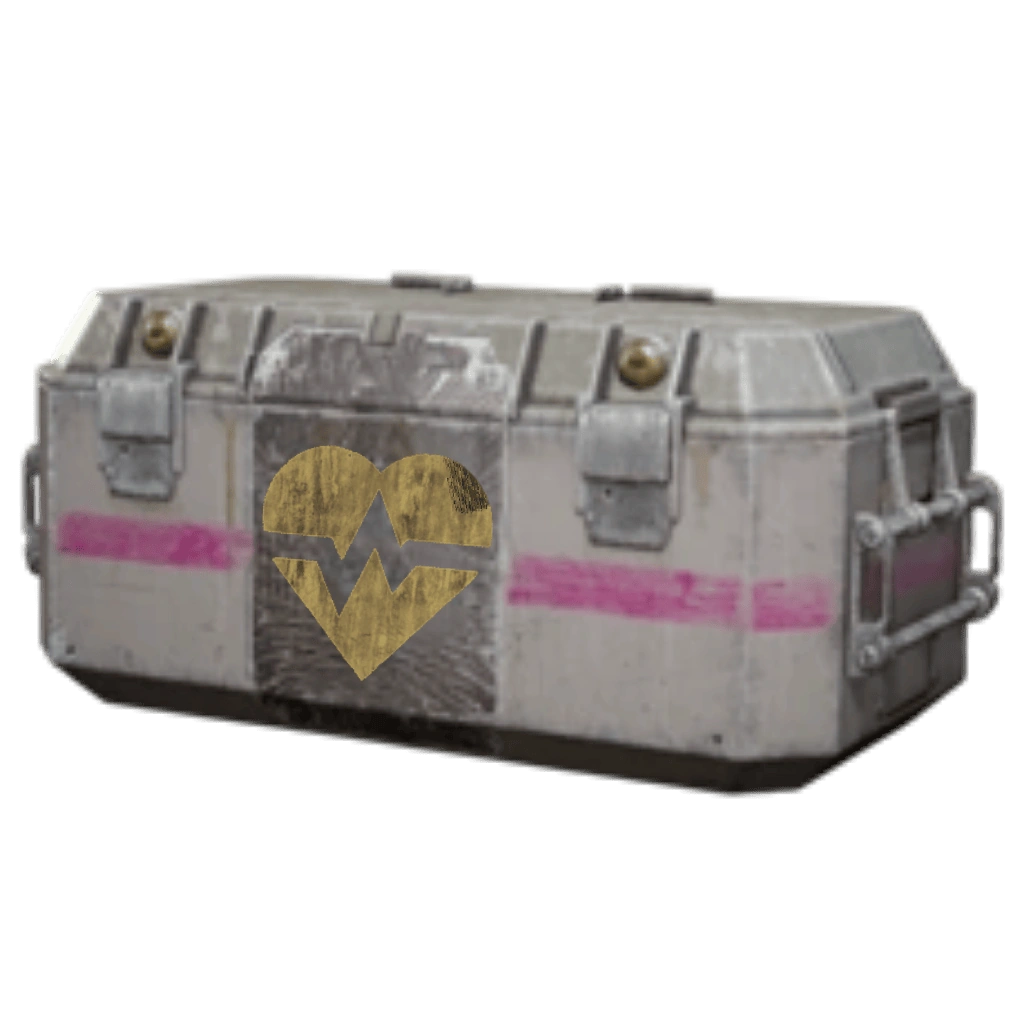
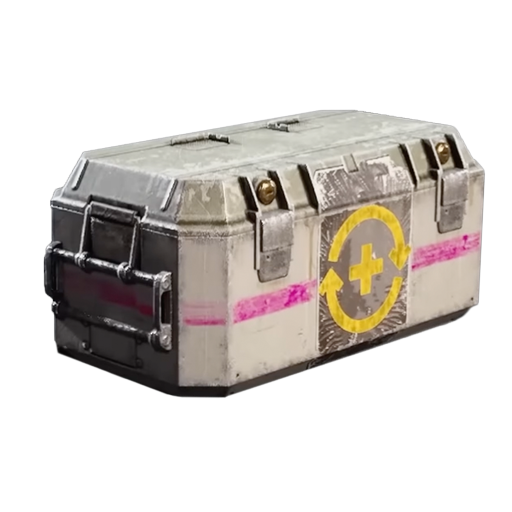
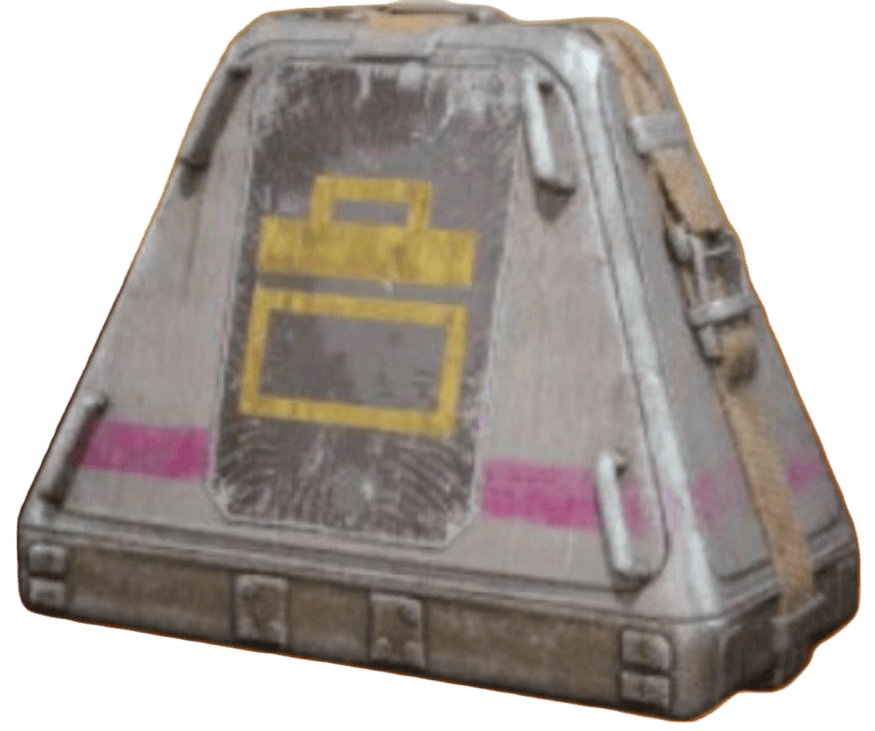
Medical blueprints can be found in Medical Containers 
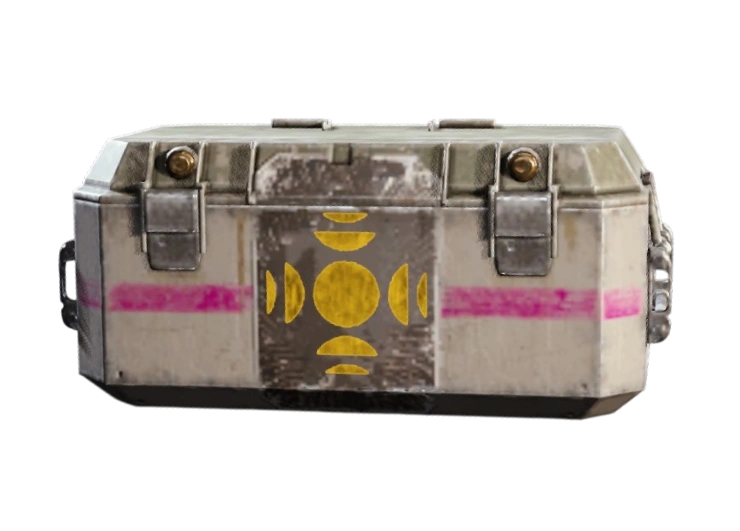
Augments are found in Security Containers, and rarely in Medical Containers 
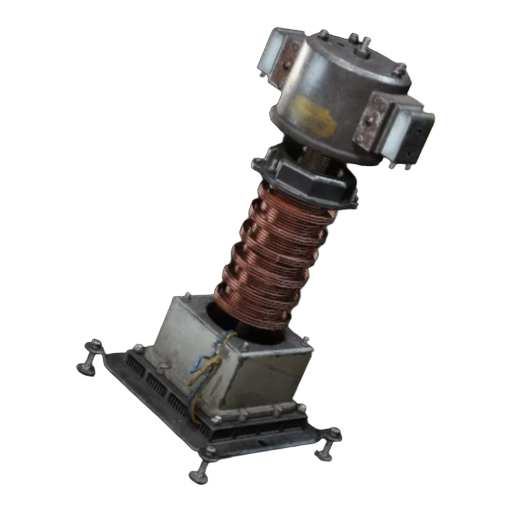
Utilities are found in Electrical Containers Blueprints for rare and epic items are more commonly found during x2 Major Map Conditions ARC Surveyors can drop blueprints[1] Table Blueprint Name Map[2] Map Condition Scavengable Containers[2] Quest Reward Trials Reward
Blueprint Name Map[2] Map Condition Scavengable Containers[2] Quest Reward Trials Reward
Anvil All Any Yes Raider Containers No Yes
Angled Grip II All Any Yes Residential Containers No Yes
Angled Grip III All Electromagnetic Storm
Locked Gate
Night Raid
Yes Residential Containers No Yes
Aphelion Stella Montis Any Yes Anywhere No No
Barricade Kit All Any Yes Electrical Containers No Yes
Bettina All Any Yes Raider Containers No Yes
Blaze Grenade All Any Yes Industrial Containers No Yes
Bobcat Condition Only Locked Gate

Hurricane

Yes Anywhere, First Wave Cache No Yes
Burletta N/A N/A No N/A Yes, Industrial Espionage Yes
Combat Mk. 3 (Aggressive) Stella Montis
The Blue Gate
Any Yes Medical Containers
Security Containers
No Yes
Combat Mk. 3 (Flanking) Stella Montis
The Blue Gate
Any Yes Medical Containers
Security Containers
No Yes
Compensator II All Any Yes Residential Containers No Yes
Compensator III Condition Only Electromagnetic Storm
Locked Gate
Night Raid
Yes Residential Containers No Yes
Complex Gun Parts All Any Yes Security Containers No Yes
Deadline Stella Montis Any Yes Anywhere No Yes
Defibrillator All Any Yes Medical Containers No Yes
Explosive Mine All Any Yes Industrial Containers No Yes
Extended Barrel Condition Only Electromagnetic Storm
Locked Gate
Night Raid
Yes Residential Containers No Yes
Extended Light Magazine II All Any Yes Residential Containers No Yes
Extended Light Magazine III Condition Only Electromagnetic Storm
Locked Gate
Night Raid
Yes Residential Containers No Yes
Extended Medium Magazine II All Night Raid Yes Residential Containers No Yes
Extended Medium Magazine III Condition Only Electromagnetic Storm
Locked Gate
Night Raid
Yes Residential Containers No Yes
Extended Shotgun Magazine II All Any Yes Residential Containers No Yes
Extended Shotgun Magazine III Condition Only Electromagnetic Storm
Locked Gate
Night Raid
Yes Residential Containers No Yes
Equalizer Condition Only Harvester No Harvester No No
Fireworks Box Condition Only Cold Snap Yes Anywhere No ?
Gas Mine Stella Montis Any Yes Anywhere No ?
Heavy Gun Parts All Any Yes Raider Containers No Yes
Hullcracker N/A N/A No N/A Yes, The Major's Footlocker No
Il Toro All Any Yes Raider Containers No Yes
Jolt Mine All Any Yes Industrial Containers No Yes
Jupiter Condition Only Harvester No Harvester No No
Light Gun Parts All Any Yes Raider Containers No Yes
Red Light Stick All Any Yes Anywhere No Yes
Green Light Stick All Any Yes Anywhere No Yes
Yellow Light Stick All Any Yes Anywhere No Yes
Blue Light Stick All Any Yes Anywhere No Yes
Lightweight Stock Condition Only Electromagnetic Storm
Locked Gate
Night Raid
Yes Residential Containers No Yes
Looting Mk. 3 (Safekeeper) All Any Yes Medical Containers
Security Containers
No Yes
Looting Mk. 3 (Survivor) All Any Yes Medical Containers
Security Containers
No Yes
Lure Grenade N/A N/A No N/A Yes, Greasing Her Palms No
Medium Gun Parts All Any Yes Raider Containers No Yes
Muzzle Brake II All Any Yes Residential Containers No Yes
Muzzle Brake III Condition Only Electromagnetic Storm
Locked Gate
Night Raid
Yes Residential Containers No Yes
Osprey All Any Yes Raider Containers No Yes
Padded Stock Condition Only Electromagnetic Storm
Locked Gate
Night Raid
Yes Residential Containers No Yes
Pulse Mine Stella Montis Any Yes Anywhere No Yes
Remote Raider Flare All Any Yes Electrical Containers No Yes
Seeker Grenade Stella Montis Any Yes Anywhere No ?
Shotgun Choke II All Any Yes Residential Containers No Yes
Shotgun Choke III Condition Only Electromagnetic Storm
Locked Gate
Night Raid
Yes Residential Containers No Yes
Shotgun Silencer Condition Only Electromagnetic Storm
Locked Gate
Night Raid
Hidden Bunker
Yes Residential Containers No Yes
Showstopper All Any Yes Industrial Containers No Yes
Silencer I All Any Yes Residential Containers No Yes
Silencer II All Any Yes Residential Containers No Yes
Smoke Grenade All Any Yes Residential Containers No Any
Snap Hook Condition Only Electromagnetic Storm Yes Anywhere No No
Stable Stock II All Any Yes Residential Containers No Yes
Stable Stock III Condition Only Electromagnetic Storm
Locked Gate
Night Raid
Yes Residential Containers No Yes
Tactical Mk. 3 (Defensive) Stella Montis
The Blue Gate
Any Yes Medical Containers
Security Containers
ARC Surveyor
No Yes
Tactical Mk. 3 (Healing) Stella Montis
The Blue Gate
Any Yes Medical Containers
Security Containers
No Yes
Tactical Mk. 3 (Revival) Stella Montis
The Blue Gate
Any Yes Medical Containers
Security Containers
No Yes
Tagging Grenade All Any Yes Electrical Containers No Yes
Tempest Condition Only Night Raid

Hurricane

Yes Residential Containers, First Wave Cache No Yes
Torrente All Any Yes Raider Containers No Yes
Trailblazer Stella Montis Any Yes Anywhere No Yes
Trigger 'Nade All Any Yes Anywhere Yes, Sparks Fly ?
Venator All Any Yes Raider Containers No Yes
Vertical Grip II All Any Yes Residential Containers No Yes
Vertical Grip III Condition Only Electromagnetic Storm
Locked Gate
Night Raid
Yes Residential Containers No Yes
Vita Shot All Any Yes Medical Containers
ARC Surveyor
No Yes
Vita Spray All Any Yes Medical Containers
ARC Surveyor
Yes, Worth Your Salt Yes
Vulcano Condition Only Hidden Bunker

Hurricane

Yes Anywhere, First Wave Cache No Yes
Wolfpack Condition Only Night Raid Yes Residential Containers No Yes

Grid

Extended Shotgun Mag III Blueprint
Angled Grip III Blueprint
Pulse Mine Blueprint
Silencer II Blueprint
Red Light Stick Blueprint
Tactical Mk. 3 (Revival) Blueprint
Compensator II Blueprint
Muzzle Brake III Blueprint
Tactical Mk. 3 (Defensive) Blueprint
Vita Spray Blueprint
Medium Gun Parts Blueprint
Tagging Grenade Blueprint
Bobcat Blueprint
Defibrillator Blueprint
Jupiter Blueprint
Extended Medium Mag II Blueprint
Smoke Grenade Blueprint
Shotgun Silencer Blueprint
Extended Light Mag II Blueprint
Showstopper Blueprint
Remote Raider Flare Blueprint
Angled Grip II Blueprint
Stable Stock III Blueprint
Aphelion Blueprint
Tempest Blueprint
Tactical Mk. 3 (Healing) Blueprint
Vertical Grip III Blueprint
Wolfpack Blueprint
Combat Mk. 3 (Flanking) Blueprint
Torrente Blueprint
Jolt Mine Blueprint
Hullcracker Blueprint
Vita Shot Blueprint
Deadline Blueprint
Shotgun Choke II Blueprint
Anvil Blueprint
Osprey Blueprint
Looting Mk. 3 (Survivor) Blueprint
Extended Shotgun Mag II Blueprint
Compensator III Blueprint
Vulcano Blueprint
Lightweight Stock Blueprint
Trailblazer Blueprint
Barricade Kit Blueprint
Green Light Stick Blueprint
Extended Medium Mag III Blueprint
Lure Grenade Blueprint
Combat Mk. 3 (Aggressive) Blueprint
Light Gun Parts Blueprint
Extended Light Mag III Blueprint
Il Toro Blueprint
Padded Stock Blueprint
Heavy Gun Parts Blueprint
Bettina Blueprint
Fireworks Box Blueprint
Gas Mine Blueprint
Yellow Light Stick Blueprint
Looting Mk. 3 (Safekeeper) Blueprint
Complex Gun Parts Blueprint
Explosive Mine Blueprint
Venator Blueprint
Stable Stock II Blueprint
Blaze Grenade Blueprint
Trigger 'Nade Blueprint
Seeker Grenade Blueprint
Silencer I Blueprint
Shotgun Choke III Blueprint
Blue Light Stick Blueprint
Vertical Grip II Blueprint
Muzzle Brake II Blueprint
Extended Barrel Blueprint
Burletta Blueprint
Equalizer Blueprint
Snap Hook Blueprint


Notes and References

  1. The blueprints dropped are seemingly random.
  2. 2.0 2.1 Spawns are not 100% confirmed but are commonly found in these maps and/or containers. If any of these are changed or need to be added onto please come post something in the wiki chat in the Official ARC Raiders Discord.